The basic brush is one of the simplest to use but still the most important. Once the user has mastered this brush the remaining becomes much easier to learn. The user can paint onto an object controlling the opacity, flow and mode of the brush depending on the effect which is required. Photoshop prevents the user from painting onto a type layer. In-order to paint onto a text layer the layer must first be rasterized.
The original brush tool can also be used for masking information. Painting with a black brush will hide image information, painting with a white brush will reveal image information. The process is preferable to the eraser tool. Editing is non destructive, allowing information to be re-edited or deleted if not required.

Used to replace elements of an image with other section from the original image or another. The user will define a source point by using the Alt key. They will paint over the desired area to remove unwanted elements. For best practice clone onto a new blank layer. Ensure sample all layers has been selected in the options bar. To avoid a patchy effect apply the effect in a dabbing motion.
3- Eraser Tool
The most destructive brush tool. Used to permanently remove information from the image. The information can also be gradually removed by reducing the opacity of the brush in the brush options palette.

Used to paint pre-defined history states onto an image. For example apply levels to an image, record the effect using the 'create snap shot' tool. Repeat the process for all other applied colour effects such as hue saturation or levels. To apply the effect select the source for the history brush and paint the effect onto the image were required.
5 - Colour Effect Brush Tools
Includes blur and sharpen tools. The effect is applied using the same principle as the basic brush. Blur tool is used to blur pixel edges ideal for areas of high aliasing. The sharpen tool will sharpen pixel edges.

You don't need to hurry and learn the entire enhancement tool in photoshop. With this tutorial, we will just focus on using the Healing brush to fix image imperfections especially in the skin.
Before we start we should know what the healing brush is. The healing brush is an intelligent paint that is similar to the clone tool only in terms that you sample one image area by option. By pressing Alt + Click the source area, then you can cover up the damage in the image like blemishes, wrinkles and etc.
To start with, open up your photoshop. Click on File then select Open and select the picture you want to edit.

* Drag your photo on to the create new photo icon.
* Make sure that you selected the duplicate layer then double-click and name it whatever you wanted so that you can determine which is the original.
* After creating a duplicate layer, identify the area that you think is needed of being fixed. Then select the healing brush tool located at the left side menu tool. After that, select the source area by holding down Alt key. There, you will see crosshairs.
* Just hold down Alt + click on the clear section then click on the area you wanted to fix.
Now, you just healed the imperfection away. If you make a mistake just undo it or go to the history window. If you wanted to see the difference, just click the eye icon on the healing layer in the layer window then see the original. Now you can see the difference!
Thus, the healing brush is really a powerful method that helps people look their best in pictures without undergoing surgery.

A highly successful photographer and a graphic designer who worked for years as a professional web and graphic designer and won a great deal of graphic design competitions, has created her own brushes because the ones that were available on the market has several weakness in terms of size, appeal and usability, and commercial use.
Size: Big brushes to pertain quality.
Appeal and Usability: Perfect looking brushes which can be used in different projects.
Commercial Use: Commercial license is needed to sell brushes. It is vital for projects which are done for clients.

During her career full of years of dedicated work in the industry, she has prepared a tutorial product which will help people to finish their wedding related projects around 30% faster than before with great outcome and satisfaction. Her method can be applied to the preparations of:

* wedding invitation
* wedding thank you card
* wedding photo decoration
* any other wedding art projects
The name of product is 167 Photoshop Brushes: Wedding Set which includes more than 150 high quality Photoshop brushes plus tutorial. This tutorial resource will help you speed up your work, especially when you are in doubt, or simply lack the inspiration to go on. With only a click of a button, the shapes will put you back on the road of creativity again in no time. With the step by step instructions given in tutorial, these shapes will make what you create look brilliant with little effort from your side.

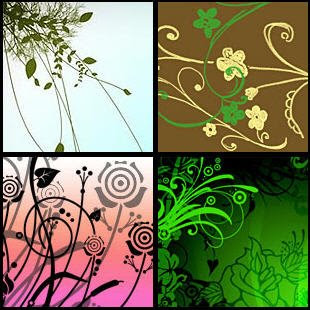
* Swirls (Floral) Set: 42 Swirl and Floral Photoshop brushes
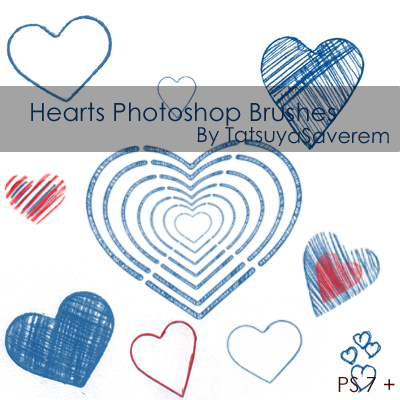
* Hearts (Grungy) Set: 32 Heart Photoshop brushes
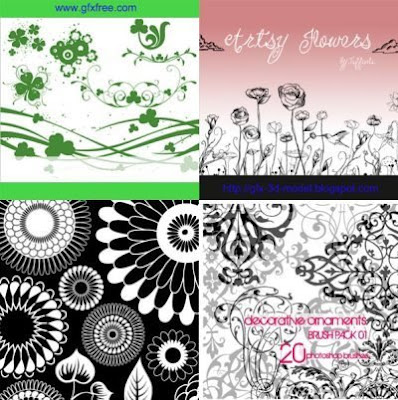
* Swirled Corners Set: 20 Photoshop brushes Swirls Corners
* Swirled Frames Set: 18 swirled frames brushes
* Tattoo Designs Set: 30 tattoo brushes
* Wedding Swirls Set: 16 wedding Photoshop brushes.

* design a unique wedding invitation
* create a nice looking background
* create a wedding invitation
* design a wedding photo album cover
* create a invitation for wedding
* design a wedding Thank you card
* design a unique wedding invitation
This downloadable tutorial comes together with two important free gifts and bonuses.
* Photo Frames set
* For beginner Photoshop users, you will receive tutorial guides such as: How to install and use brushes in Photoshop, how to color a brush fast, Keyboard shortcuts.

Let me take you through the techniques Adobe Photoshop & Elements uses to 'Brush Away Blemishes' and remove any unsightly spot, mole or pimple that just shouldn't be there!
Introducing the 'Healing Brush'.

This is the icon that kinda looks like a band-aid or plaster.
Make sure you don't click on the 'Spot Healing Brush'.
2. Zoom in as tight as you can on your image.
It pays to have a high-resolution image to work with, this makes it easier to work on the finer details of the skin.
Before proceeding...

You can separate the Layers Panel by dragging it onto the main screen and closing down the dock. You can drag and position it where ever it suits.
With our Background Layer in place we are now going to create a 'New Layer' above the Background Layer.
4. Click on the 'Create Layer Icon'.
This is the icon that sits to the left of the 'half black, half white circle' at the top in Elements and is down the bottom of the panel in the full Photoshop.

A good idea is to name your layers the name of the edit that is being done. This just makes things easier for referencing.
6. Now click on the 'Healing Brush' icon from the toolbox.
7. Using the square bracket keys on your keyboard you can adjust the brush size.
Clicking on the left square bracket key reduces the size of the brush. We want the brush to be around the same size or slightly larger than the blemish.
