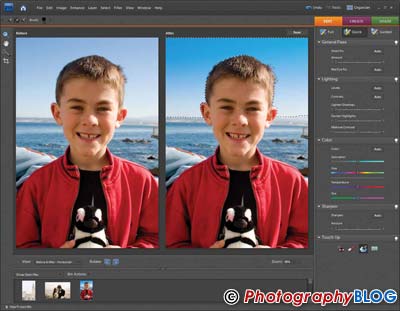
Adobe Photoshop is the professional photographers secret tool to creating fantastic photographs yet can be a challenging program to learn. Given the learning curve that Photoshop demands many everyday photographers feel intimidated by the program. Because of this fact, Adobe has introduced Photoshop Elements, a "lite" version of their popular program. Adobe Elements contains many of the same tools and features as Photoshop yet is much easier to learn and master.

Elements is contains many of the same features and tools as Photoshop. For example, in both programs you can fix lighting problems, remove unwanted items, fix red-eye, and create a multitude of projects including scrapbooks, calendars and cards. These are only a few of the similarities between the programs. The main difference between the programs is that Adobe Elements is much easier to learn since it has an easier to use interface. This advantage allows a newcomer to the program a faster assimilation so you can begin working with your photos almost immediately. With Adobe Photoshop you could spend months learning all the tools and features.

Regardless of whether you decide to use Photoshop or Elements you may wish to view tutorials in order to get started on the right foot. You can find a variety of tutorials available in all sorts of mediums, including online tutorials, DVD's or CD-Rom. Tutorials a great ways to learn about the tools available (and how to find them) as well as showing you various keyboard shortcuts to the various tools. You can find different tutorials that focus on a variety features and you should expect to learn how to use text in combination with your images as well as using special effects, masks, layers, as well as a variety of other thing.

Regardless of whether you want to restore an old photograph or crop out unwanted items in your photographs, the tools available in Adobe Elements 8 will allow you to accomplish your goals. It's a sad twist of fate that photographs that were taken years ago will discolor or get worn out from handling. The built in tools, including the blur and sharpen tools, can help you restore your cherished momentous and keep them for future generations. Another common problem is having red eyes staring back out at you. Regardless of your skill or the expense of your camera red-eye is a problem that even professionals experience. Using the red-eye reduction tool you can fix this problem with a simple click of the mouse not only from people but from our four-legged friends as well.

Simply do a search and you will find free or paid video lessons for just about anything that you can think of. Someone has now came up with the idea that video lessons teaching Adobe Photoshop Elements. Specifically geared towards the latest version 7 that has recently been released.
Adobe Photoshop Elements 7, like it's predecessor 6 and even before has always had one aim, to allow the manipulation and correction of digital photographs. That is its prime nature and is one of if not the best package of its kind available today.
Adobe Photoshop Elements not only allows simple correction to your digital photography such as removing red eye, correcting brightness and colour mix but also has a library of over 50 different effects that can be applied to any digital photograph that you so wish.

So this all seems rather straightforward. Well yes and no.
If you want to spend hours sifting through manuals and playing with settings on the Adobe Photoshop Elements software, then by all means dive right in and have a play with the various settings/filters and effect libraries at your leisure.
However if you fall more into the category of using it as a tool, making your valuable time more productive and efficient, then it is always useful to have a guide of some sort (not referring to the 400+ page manual that is provided with the software).

I purchased the software a couple of weeks ago as I am an avid digital photographer, even more so now that I have a 4 month old son who loves being in front of the camera. But lighting and associated conditions can create a near passable photo. But for long term you want memories such as this to be stored in their optimum format. Red eye being the most common problem, but lighting indoors from either fluorescent or incandescent sources can either yellow or white out the picture to such a degree that storing it in original format just wouldn't do your photograph justice.
The learn Photoshop Elements video course can and will change all that. It includes a complete set of 30 individual instructor led videos that let you get the most out of your purchase. It covers all need to know topics. From understanding the interface of Adobe Photoshop Elements, editing modes, layer and blend edits all the way up to object removal and color curves.
Some great examples I have came across show you the ability to actually remove elements (pardon the pun) from you photographs. A great example would be a photograph with unwanted pedestrians or perhaps something simpler such as a lamp post or door sign. Whatever is in the photograph you don't want, remove it.

I have to say though that after going through all the videos, my favorite one was the ability to create an online digital photo album that can be accessed from anywhere in the world. I have relatives in all corners of the globe, and again going back to my son, this makes it so much easier to let everyone know how is getting on.
Well I've enjoyed writing this article, I hope it has given you some food for thought that those pictures you have on your PC or camera can be better.
Even if you take a look at the course and decide it's not for you, then there is a money back offer in place. There is even a teaser video thrown in for free to let you see how professional the instructor is and qualify the quality of materials in it.

Lets start with the menu bar at the top of Elements.
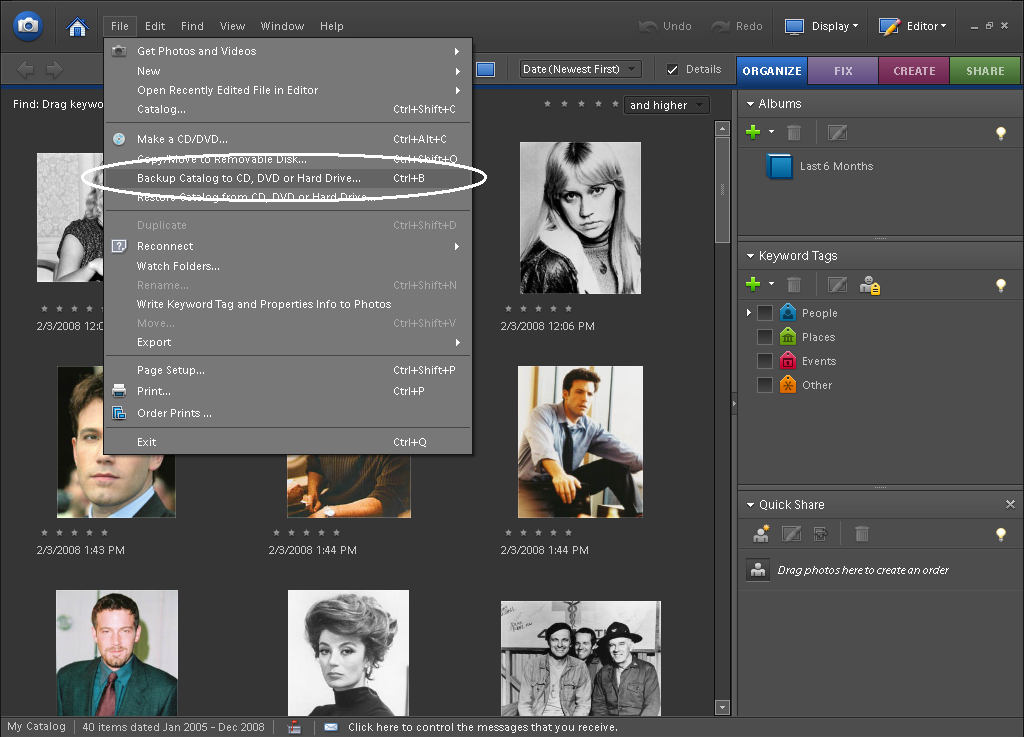
Menu Bar- The menu bar gives the user access to numerous options. Here you can use the drop-down menus from the menu bar. You can do anything from changing the lighting, to applying special filters. If you click on 'File', a drop-down menu will appear. Here you can open and close pictures as well as save files. You will notice that some of the commands have keyboard shortcuts. If you use these commands frequently, it might pay to familiarize yourself with these shortcuts making the process easier for you.

ToolBox- This is where the magic happens! Usually found floating to the side of your image. The toolbox houses shortcuts to many of the major tools you need. In it your find, the brush tool, crop tool, eraser tool, move tool and zoom tool to name a few. The tools are accessed by clicking on them and can also be activated by using keyboard shortcuts. Tools remain active until another tool is selected. It is packed with handy features that enables you to make edits to your images quickly and effectively.

The Photo or Project Bin- This feature displays thumbnails of the images you currently have open. Swapping between each image is as easy as double clicking on the image icon in the photo Bin. You can also click on the Image tab of the image you want displayed in the image window. Right-clicking on any of the thumbnails gives the user access to information on that image.
Layers Panel- This controls how the different layers of the image interact with each other through Opacity making this one of the most important places in Photoshop and Elements. Here is where the ingenious of Photoshop really shines through. Editing your images is taken to new heights and the possibilities are endless.

Undo History- There is a God with this handy little feature. Save yourself time and frustration with the undo history panel in Photoshop. This allows you to step back through your adjustments referred to as 'history states' to make the necessary changes. Keep in mind that the amount of history states you can scroll back through, depends on what you've set your preferences too. The undo history panel by default will list the previous fifty states.
The above is a basic overview of the uses and benefits that each menu and panel can provide for its user. There are of course many more features packed into the user interface which you will become familiar with the more you use them. Whatever method you choose to acquaint yourself with these menus and layers, just open up Photoshop and go ahead and put some of these techniques to work. If you lose something, don't worry. Go to windows in the menu bar and pick reset palette/panel locations. You won't be sorry for taking the time to really understand the power of Adobe Photoshop, for the true power really does lie within the user!
